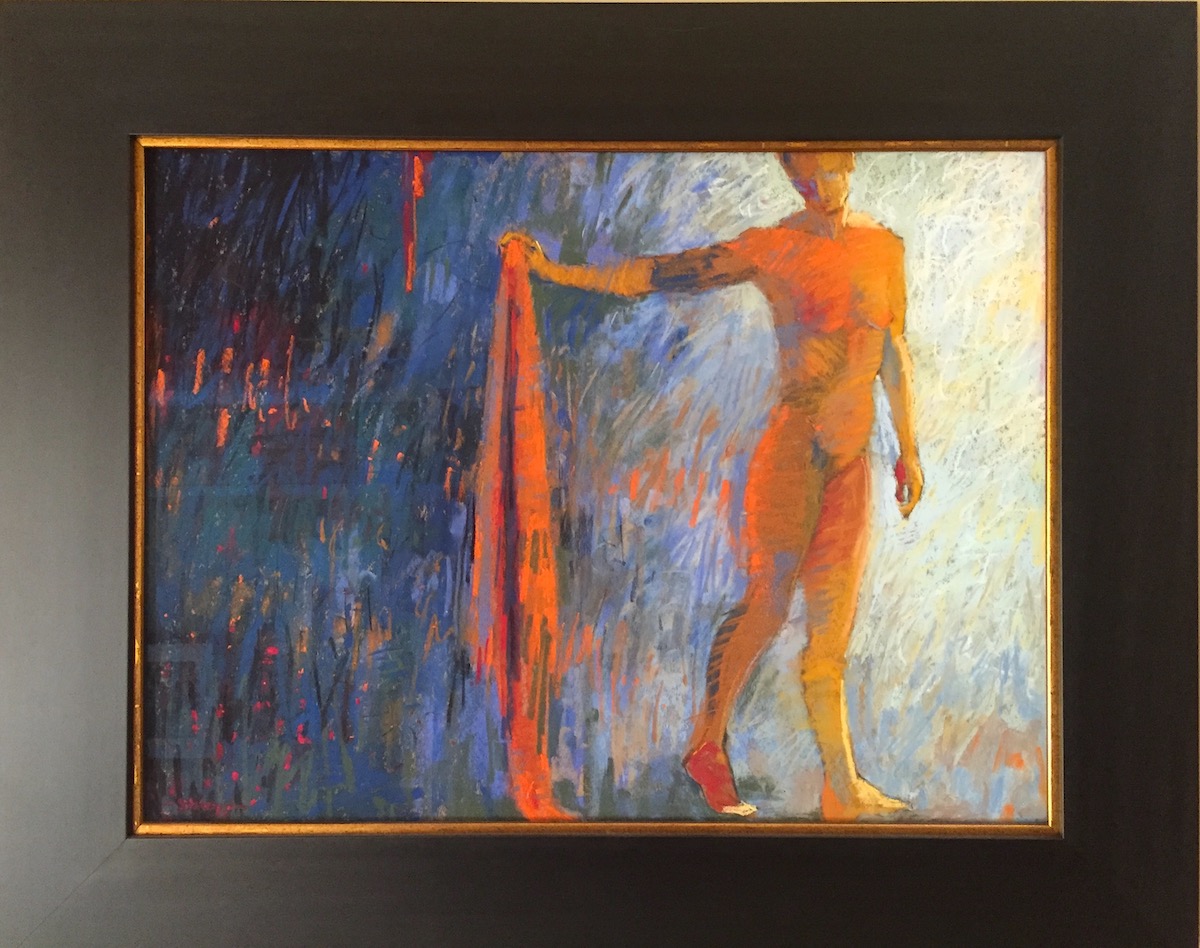
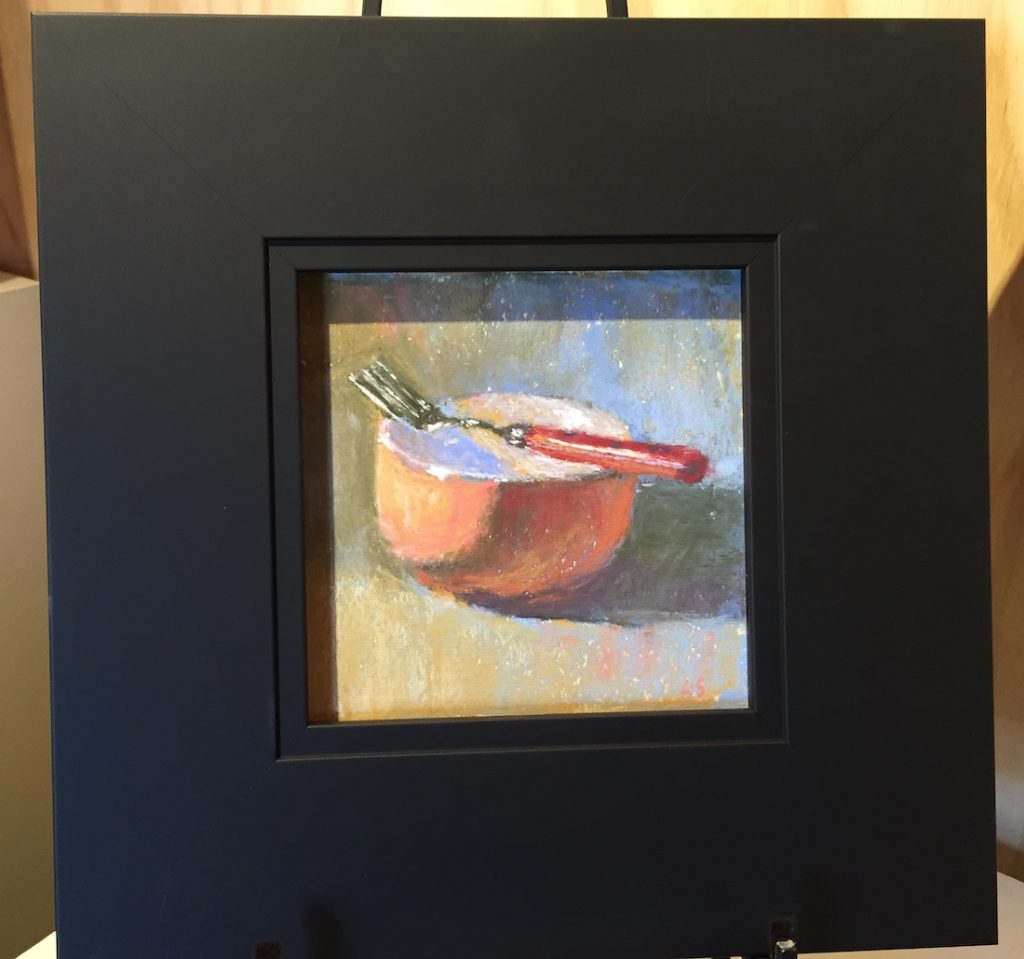
Pastel paintings need to be protected…that’s just the way it is. A piece can be smudged (and changed dramatically) if left uncovered or at least where fingers other than yours can get at it! That pastel pieces need to be protected before putting them on display is probably the main downside to using pastels (and it’s a biggie!). Generally, protection means framing. So today, we’re going to dive deep into how to frame soft pastel paintings.
An aside before we get started, until you get them framed, keep your pastel creations flat, preferably covered with glassine paper (I like glassine because it’s acid-free and fairly transparent). This keeps them safe from the possibility of smudging and moisture yet the images are fairly visible. (Click here to read an older post I wrote about storing your pastel paintings.)
So let’s get to framing! Such a BIG topic!
Recently, I asked my framer Mitchell Jones if he’d consider creating an educational video or two all about how to frame soft pastel paintings. As a person deeply interested in educating the public about the wheres, how’s, and whyfores of framing, he said yes. Yay! (Thanks to my friend Julia for making the initial suggestion to do this.)
So we made our first video together.
This one focuses on protection and presentation of your soft pastel paintings. (The next one will get into the aesthetics involved in framing.) It will prepare you for your next visit to a framer – whether a new-to-you person or your regular framer. You’ll know what questions to ask and the kind of answers that you can anticipate and that should be forthcoming.
Some of the topics we cover in this video are (and you may be surprised by some of Mitchell’s answers to my questions!):
– To fix or not to fix
– How and where a painting will hang affects everything
– Thoughts on framing your pastel up against the glass? (eek!)
– Various glass choices
– To frame with or without a mat
– Ways to decrease the possibility of pastel dust on a mat
– And what about Plexiglass?
– The framer/client relationship
– The best way to present your piece to your framer
Now it’s time to have a look!
This video is on YouTube and if you have questions about our discussion, make sure you leave them in the comments below the video on YouTube. That way Mitchell will see and answer them and so everyone will benefit! CLICK HERE to go to YouTube to leave a question.
Now let’s have a look at some visuals!
Here’s a closeup of the colour difference between Conservation glass and UltravueUV70:
Below you’ll see two of my paintings framed with a single mat, both with a regular bevel – one with a white mat, the other in black.

The next image shows a painting with a reverse bevel. If you look closely, you’ll see that the bevel edge isn’t visible. Instead, it shows up on the other side of the mat (where you can’t see it).

And lastly, let’s look at a couple of paintings without a mat. The first is a reclaimed older frame. In both cases, spacers (which aren’t visible) keep the painting away from the glass.

In the not-so-great photo below, you can quickly see the difference between using regular glass (on one of the pieces) and Ultravue UV70!
A bit of behind-the-scenes story before I wrap this up:
Mitchell and I waited until the end of the day, when the Gallery closed, to make our video. We set up to record and away we went…only to find that the microphones we were using had stopped working (or at least the sound became static-y) soon after we began recording. Oh brother!
Right, time for another take. So we recorded the whole thing again…only to find that the camera had captured hardly 5 mins of video!! ARGH.
Our third time around, we created short videos for each topic (which I later spliced together) to make sure each video worked. Right, we can do this! And we did. However, with exhaustion beginning to kick in, we didn’t remember everything we wanted to cover. Dang! If you go to YouTube, however, you’ll find a lot of questions in the comments about many of the things we didn’t cover and you’ll see Mitchell has kindly answered them. I encourage you to add your own questions over on YouTube where Mitchell will see and answer them.
The comments section here on the blog is the best place to record your general thoughts about the video and this post. Please let me know if it was useful and what kind of questions you’d like to see answered in our next session all about the aesthetics of framing.
The main outcome I want you to have from this post is to end up with a framer who understands your needs and listens well AND at the same time can guide you to options you may never have thought about or even imagined! I consider myself very lucky to have found the knowledgeable, patient, and generous-with-his-time Mitchell. (And of course, if you’re in the Victoria or Saanich areas here in BC, Canada, be sure to drop in and have a conversation with Mitchell at the Peninsula Gallery. You may just want him as your framer too!)
If you’re a do-it-yourselfer, then you know what you need, a bit on how to do it, and what you should and shouldn’t do.
I look forward to hearing what you think of this whole framing business! Please leave your thoughts below.
Until next time,
~ Gail
PS. Here’s that tape Mitchell was talking about in the video:
PPS. And if you found Mitchell’s info useful, you might consider leaving a google review for him at Peninsula Gallery! Just google “Mitchell Jones Custom Framing” and this image should show. Click on Peninsula Gallery then Click on “Write a Review.” That’s it!


35 thoughts on “How To Frame Soft Pastel Paintings”
The How to Frame video was excellent – and the difficulties you had recording it were not evident in the final product – well done Gail. I look forward to the next one!
So great to hear Deirdre – thank you!!
Thank you Gail, this has been a most informative and interesting video. I wish Mitchell was my framer but as I live in Melbourne Australia that cannot be. He has reinforced to me that framing my pastels with a spacer instead of the usual mat can look really good, something I have been trying to convince my framer to do, without success. They don’t seem to do this here. I mostly frame my own work now and can try the spacer method with this new information. So as a sometime framer a video on aesthetics would be most welcome. A question regarding Floating Frames – can Pastels be framed this way or was it just watercolours on w/c paper? Do these end up behind glass with a frame? (Stupid question I know.)
Thank you for all your helpful blogs, I always look forward to them.
Brigitte
Brigitte, I am so glad to hear this was useful (and interesting!). Alas, we’ll have to figure out a way to clone Mitchell and send him worldwide 😁🌏
I’ll alert Mitchell to your question and I’m sure he will pop up here to answer it. (And there are no stupid questions!)
Hi Brigette,
I always like to say there are never any “stupid” questions 🙂
Floating frames are a terminology for a L shaped frame for canvas to seat into it whereas a shadowbox frame that uses glass would be appropriate for floating works on paper so that they have space @ to breathe and create an effective shadow look. The trick with floating pastel works is hinging the art on the back without disturbing the art from pressure on the face. My favorite form of hinging is ” T-hinging”. this is where I take a strip of acid free tape aprox 2 1/2″ in length, I then take a second strip aprox 1/2″ longer than the width of the tape per side. I then lay the longer stip in the top corner about 1 1/2″ down from the top with the sticky side facing up and then I tape that piece down with the shorter piece crossed like a lower case “t” and lightly burnish it to the back. Once this is done to both top corners only I then lay the art onto your base and gently lift the top corners up and burnish the longer exposed tape to the backing. This portion of the tape can be agg
aggressively rubbed down because it is under the art and any denting that may occur is on the hidden portion of your base.I then gently lift from the bottom and proceed in the same manner as I did in the top.
As a framer a lot of the time I will start with a base that is larger than my end size because I can always trim it out to be centered in the end and I do not have to worry about taping it exactly centered at the beginning.
I am always aiming for a hinging format that allows for the art to be removed without damage occurring at a later date, so I always stay away from double sided adhesive.
Hope that helps.
Mitchell
Hi Brigitte
I’m fairly new to pastels but have just won a scholarship with the Pastel Society of Victoria and Australia and have started learning a lot with them. They have an association with Rowville framing (in, of course, Rowville!), who are brilliant with pastels and very generous and friendly. I went there last week (a longish trip for me from Elwood) and spent about an hour picking Amy’s brains. She declined to charge me anything for her mini course in pastel framing. A trip well worth the time. Hope this helps
Becca
Wow !…. such incredible info, thank you you much for the questions…and answers 🙂
Adrianne – thanks for your WOW! 😊
What a timely, interesting and great video, well done to both of you for persevering! I’ve just found a new framer in our little town. I appreciate his suggestions and knowledge and look forward to picking up the first painting he is framing for me.
Yay – I love serendipitous timing! And yay for you finding a framer who sounds knowledgeable and caring. How exciting to see your first framed piece from him!
This is a tremendously useful video, thank you so much Gail. Your framer seems a lovely guy!
Yay!! LOVE hearing that Morag!! And he IS a lovely guy!
Thank you so much! This was extremely informative and I would ❤️ to see more.
You are so welcome Wendy and thanks for the positive response for more vids!
This was very informative – thank you both. I will be more mindful about mounting the paper correctly, etc…
Awesome to hear Virginia! So many good tips here from Mitchell!
Terrific video, greatly appreciated! I would like to see addressed the handling of my two favorite supports; Pastelmat, which bows alarmingly, and premounted sanded paper that is painted edge to edge.
Gosh that’s so good to hear Tamara!!
And thanks for the suggestions for further videos. I haven’t used Pastelmat but I do have a sheet in my supplies so will pull it out and see what we can do.
Hello Tamara,
There is no doubt that how you treat your paper and the size will determine how much buckling will occur.
A lot of my artist customers over the years have experimented with finding ways to pre treat their paper choice to firm it. ( I had one artist that clamped and pre soaked her paper in a bathtub to create a paper stock that would never buckle at a later date) Some paper will need to be pre mounted to another substrate before you create your masterpiece.
hope this helps : )
Mitchell
Hi Gail,
Thank you so much for this wonderful video. Learnt so much from it with very helpful tips. I am really interested in what is the best board to fix the paper on before you start as have been told gator board is the best way to go but find that difficult to get?
Looking forward to the follow up video and thank you Mitchell for sharing your expertise.
Hey Hazel, I’m so glad it was helpful! Can you get foamcore? That’s what I’ve used as gatorboard isn’t talked about much where I live either.
I’ll ask Mitchell if he would be kind enough to offer other alternatives.
Thank you for doing this video, it was a great help to me since I’ve been framing my own stuff for so long that I didn’t know the new things available for framing.
Nancy that is pretty fantastic to hear!!!
Of course, now I’m curious about what’s new for you!
Hi Hazel,
What you use for a base substrate to mount on will depend on your mounting technique. The main concern for me as a framer would be that the material is acid free.
4-ply acid free matboard and foamcore are materials that are usually available from your local framer and art supply store. If using a wet glue practice weighing your artpaper down to allow for the glue to dry and cure and not cause your base material to bow or cup from the drying process.
Hope this helps.
Mitchell
What an interesting and informative video, Thank you both.
So glad you found it so Ann!!
Thank you! This was wonderful! Here is my “dumb” question. I will be carrying small soft pastel paintings to an outdoor festival this fall. Many will be unframed. I was considering taping them to foam core board or backing board, placing a mat over the top, and slipping them into a cellophane bag. I thought I would clip the bags to a line strung across my display area (like a clothes line). Is this a bad idea? What other suggestions do you have?
Hey Carol, glad you enjoyed it! And thanks for you “dumb” hah hah question.
Sounds like you have a great plan for displaying your matted and bagged work. One thing I like about this rather than having them in a bin to flip through is that it means they will be less handled by viewers…which is a good thing!
Perhaps other readers will have some ideas for you!!
The clear protective bags are an excellent idea. You may wish to look into Flap Seal Crystal Clear Bags (https://clearbags.ca/bags/crystal-clear-bags/flap-seal-bags.html) (https://www.clearbags.com/bags/clear-bags/flap-seal) as they are acid and lignin free and archivally safe. I came to know about these through Clarence Porter and Karen Margulis. You should also be sure that any board you are inserting into the bag with your pastel (and/or to which you are mounting the work) is also archival. All foam board/foam core is not created equal. It needs to be archival as well and not off gas. I would suggest Bainbridge Artcare Archival Museum Quality Foamboard, which you can also get at Clear Bags. If your work is not yet mounted you would not need to tape it to the foamboard before inserting it into the bag. Just put the piece of board in, then slip your pastel into the bag and seal. Ensure the bag is slightly larger than the pastel, i.e., B1012 for an 8 x 10″ measures 10 7/16″ x 12 1/4″. Best wishes for your festival! Thank you Gail for your wonderful and resourceful website!
Thank you so much for doing this video! I didn’t know about putting the art right against the glass (risking condensation damage). I knew about spacers, etc., and thought I knew lots, but I learned so much from this! I wish my framer had this much knowledge, but now I have the knowledge to share! Fantastic info! 🤩🤩🤩
Connie – LOVE your enthusiastic response!! I’m so glad this gives you a lot of information to take with you to your framer on your next visit 😁
This was great Gail, so helpful! Really looking to learning more bout framing and future videos with Mitchell!
Thank you!
Sooo glad to hear Anna! We are going to record another one next week!
Great video (that I watched after framing a piece). I didn’t know about the various kinds of glass and how glass can affect the color of the artwork. The art center here requires plexiglass on entries. Can you comment on types of plexiglass to use? And please let me know the brand of the handy tape Mitchell used! I noticed that the back of a piece that Mitchell showed did not have the back sealed with paper. I thought you always had to seal the back with paper. Can you comment on that?
Glad you enjoyed it Doreen! I’ll ask Mitchell about different plexi.
You’ll find the brand of tape Mitchell uses is at the bottom of the post.
I don’t think you have to seal the back but it’s always a good idea not just aesthetically but to protect everything from bugs etc getting inside.
Watch out for another video on framing aesthetics coming in Fall 2021!